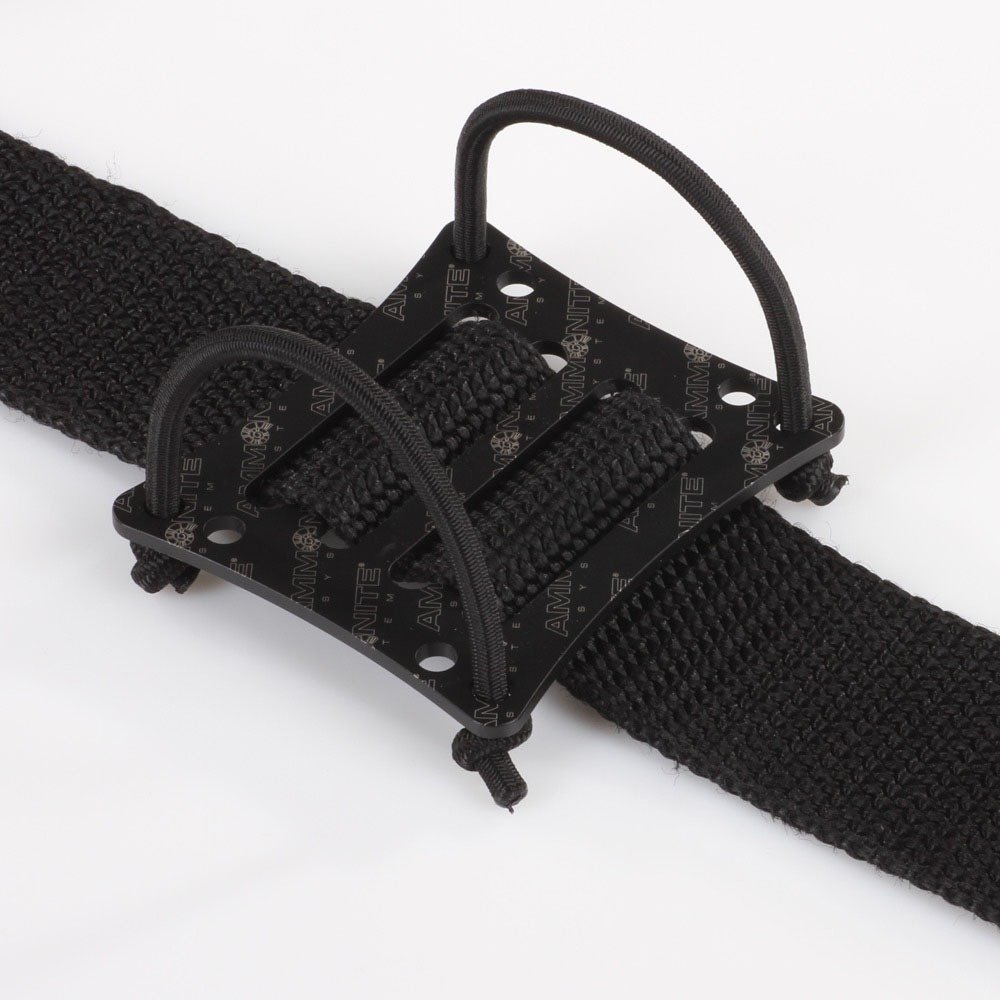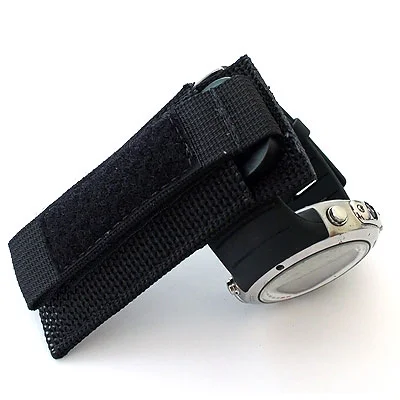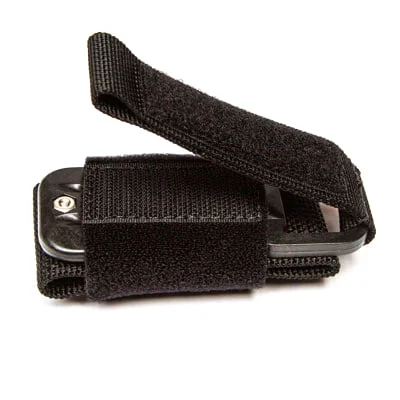
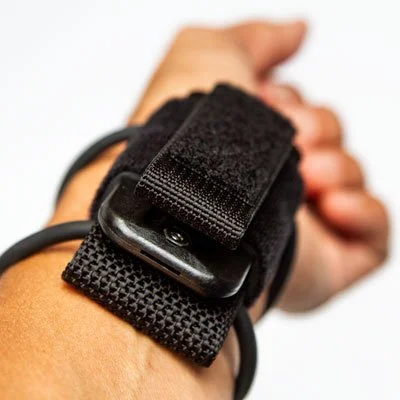
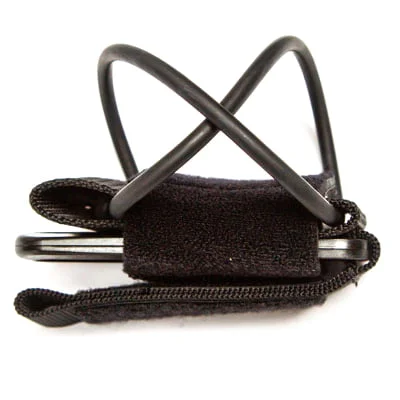
Eezycut Line Cutter with Wrist Mounted Bungee Sheath
—
✅ In Stock
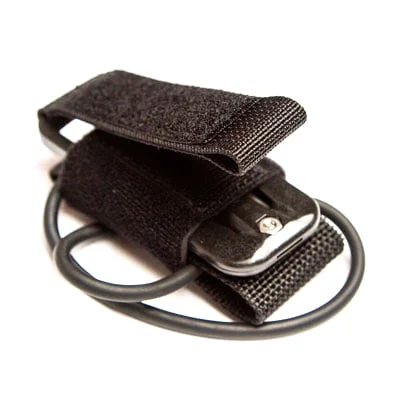
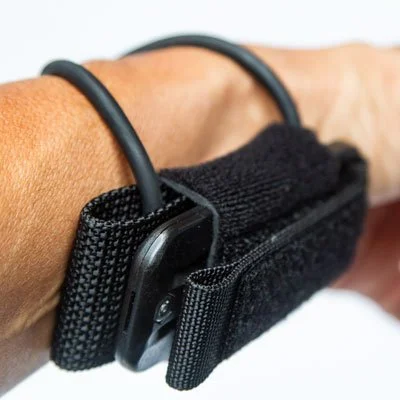
Compact EEZYCUT TRILOBITE cutter for line and webbing, designed by Steve Bogaerts for divers, mariners, mountaineers and rescue professionals. Mounts to diving computer or wrist slate bungees (not included); kit includes two replacement blades. Rated to cut line up to 8 mm (up to 12 mm with technique).
EEZYCUT TRILOBITE — compact line and webbing cutter designed for divers, mariners, mountaineers and rescue professionals. Designed by Steve Bogaerts, the tool can be mounted to the bungees of a diving computer or wrist slate and deployed from either side. The kit does not include bungees but ships with two replacement blades.
Performance and notes
- Rated to cut line up to 8 mm; with the correct technique it can cut up to 12 mm.
- Works best when there is tension on the line or webbing.
- Due to manufacturing tolerances the blade may sit slightly off-centre and the cutter can feel different on each side.
How to cut line
- Place the line in the slot and apply tension.
- Hold the tool with the thumb and index finger either over the slot or with the index finger extended over the front of the frame.
- Pull back from the elbow while the line is in the slot and allow the blade to slice through. Holding the index finger over the slot converts the tool to a one-sided cutting action.
How to cut thicker line
- For lines thicker than 8 mm (up to about 12 mm), maintain strong tension and use the same pulling motion; controlled wrist and elbow movement improves the cut.
How to cut webbing
- Place the webbing in the slot with tension.
- Extend the index finger over the front of the frame, pull back, and push the front of the tool down with the index finger in a hooking motion driven by the wrist.
- Aim to complete the cut before the webbing reaches the end of the cutter arm.
Changing the blade
- Wear nitrile gloves for protection.
- Unscrew the hex nuts and open the tool at the front using the pry hole. Gently open at the locators.
- Lift off and safely dispose of the old blade, insert the new blade, and reassemble. Push the tool together at the locators and tighten the hex nuts snugly.
- Close the arms with your fingers or very gently with pliers. Do not over-tighten — slight fissures at the ends may occur but do not affect function.
Safety
- The blade is protected but not foolproof. Take care when handling and when returning the tool to its sheath to avoid injury.