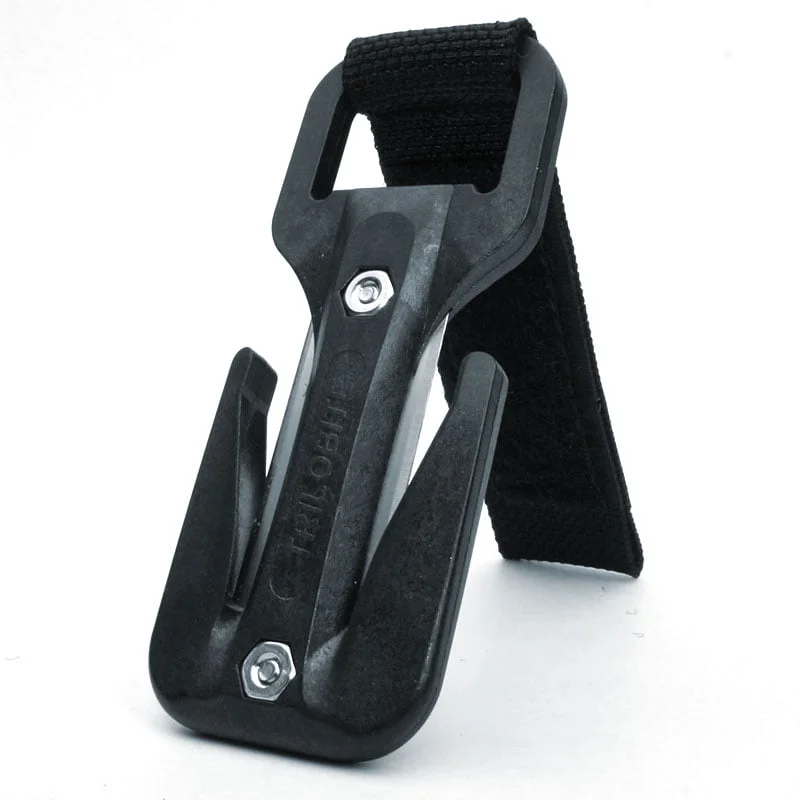
Eezycut Line Cutter with Flexi Pouch
—
✅ In Stock
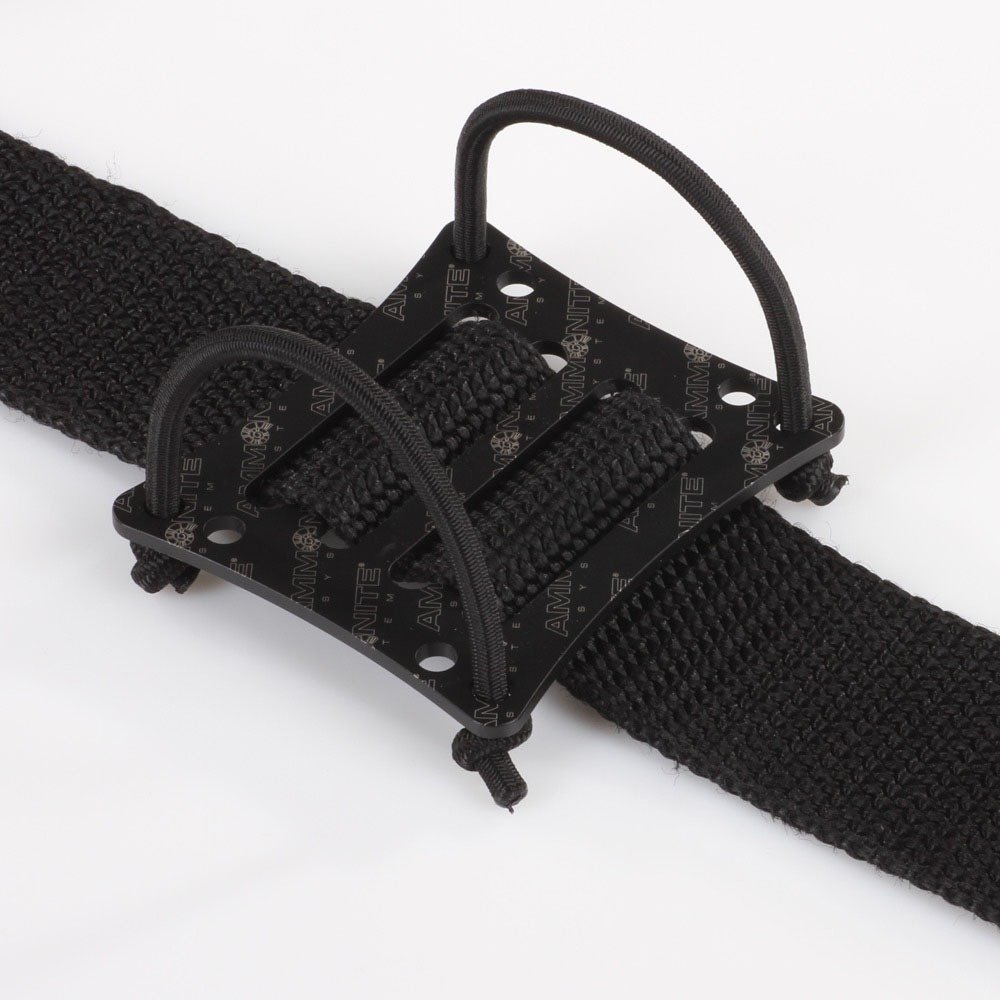
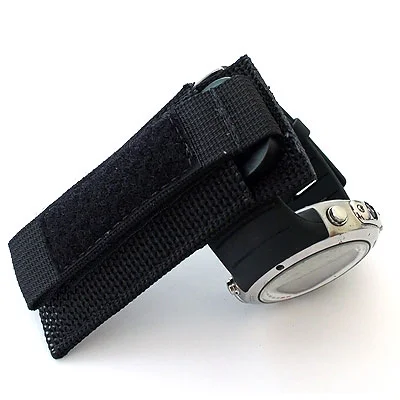
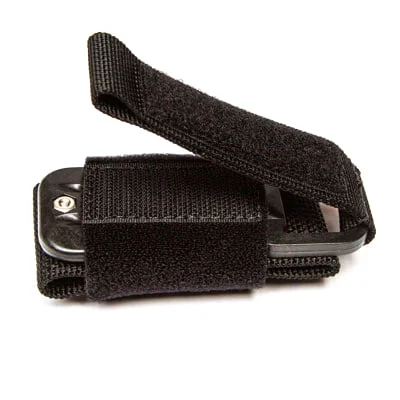
Developed for divers, mariners, mountaineers, extreme-sports adventurers and rescue professionals. Supplied in a flexible pouch for secure harness attachment; kit includes two replacement blades.
This compact cutting tool is designed for rope, line and webbing. Its patented mechanism requires specific techniques for optimal performance; read the instructions below for safe, efficient use and blade changes.
Important notes
- Because of tolerances in the blade slot, the blade may not sit perfectly centered and can lean slightly to one side. This may cause the tool to feel different when cutting on one side versus the other.
- The blade is exposed within the slot and well protected, but can still cause injury if handled carelessly. Exercise caution when cutting and when returning the tool to its sheath.
How to cut line
- The tool is rated to cut line up to 8 mm thick and can cut up to 12 mm using proper technique.
- The cutter performs best when there is tension on the line. While it can cut without tension, applying tension yields more consistent results.
- Hold options:
- With the index finger and thumb over the slot, or
- With the index finger extended over the front of the frame. Note: holding the tool with the index finger over the slot converts it into a one-sided cutting tool.
- With the line in the slot, pull back from the elbow and observe the blade slice through the line.
How to cut webbing
- The tool is rated to cut webbing of all thicknesses and works best when the webbing is under tension.
- For optimal webbing cuts, extend your index finger over the front of the frame. While pulling back with the webbing in the slot, press the front of the tool down with the index finger in a hooking motion driven from the wrist. Aim to complete the cut before the webbing reaches the end of the arm.
How to change the blade
- Wear nitrile gloves for protection.
- Unscrew the hex nuts and open the tool at the front using the pry hole.
- Gently open the tool at the locators, lift off the blade and dispose of it safely.
- Insert the new blade, reassemble, and tighten the hex nuts.
- Press the tool together at the locators. Close the arms with your fingers or very gently with pliers. Do not over-tighten, as this may cause slight fissures at the ends; these do not affect tool function.
Safety reminder
Always keep hands clear of the blade path, use appropriate protective gloves when changing blades, and store the tool in its sheath or pouch when not in use.